Achieve Instant Lawn Gratification: The Ultimate Guide to Sod Installation
Dreaming of a lush, green lawn without the wait? Look no further than sod installation. Sod offers an instant solution to transform your outdoor space into a verdant oasis. In this comprehensive guide, we'll explore the benefits of sod installation and provide step-by-step instructions to help you achieve a picture-perfect lawn with ease.
The Benefits of Sod Installation: Sod installation offers numerous advantages over traditional seeding methods, making it a popular choice for homeowners seeking immediate results. Here are some key benefits:
- Instant Gratification: Unlike seeding, which requires weeks or even months for grass to establish, sod provides an instant lawn. With sod installation, you can enjoy a lush, green lawn almost immediately, enhancing your outdoor living space without the wait.
- Weed Control: Sod is grown from weed-free turfgrass varieties, minimizing the risk of weed infestations compared to seeding. This helps maintain a pristine lawn appearance and reduces the need for ongoing weed management.
- Erosion Control: Sod provides immediate erosion control, stabilizing the soil and preventing sediment runoff. This is particularly beneficial for sloped or uneven terrain where erosion can pose a challenge.
- Soil Health: Sod comes with a layer of mature roots and soil, promoting rapid establishment and healthy growth. This helps improve soil structure, increase organic matter content, and enhance overall soil health.
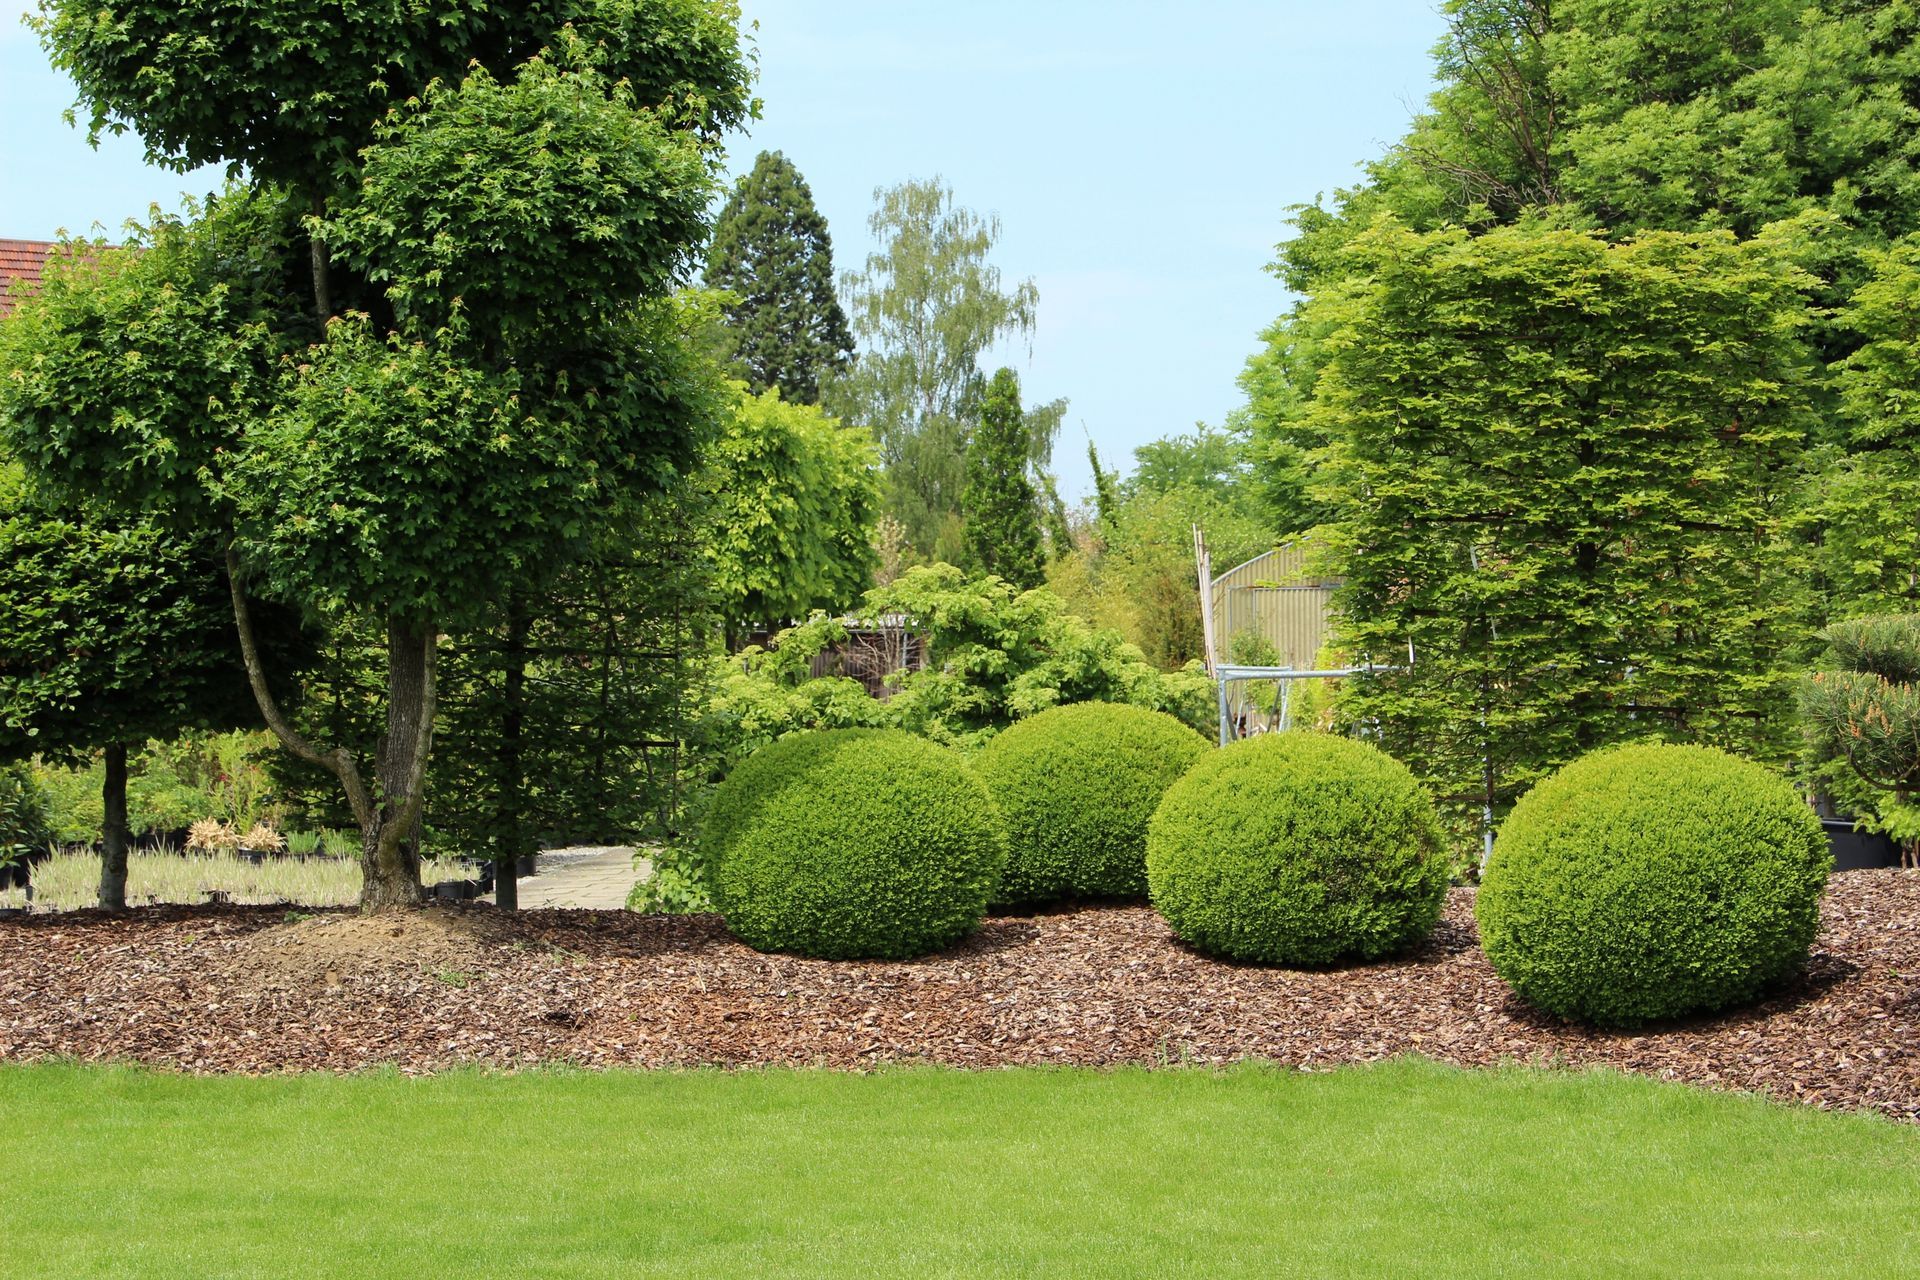
- Versatility: Sod can be installed virtually anywhere, from residential lawns and commercial properties to sports fields and parks. Its versatility makes it a popular choice for a wide range of landscaping projects.
Step-by-Step Guide to Sod Installation: Now that we've explored the benefits of sod installation, let's dive into the step-by-step process to achieve professional results:
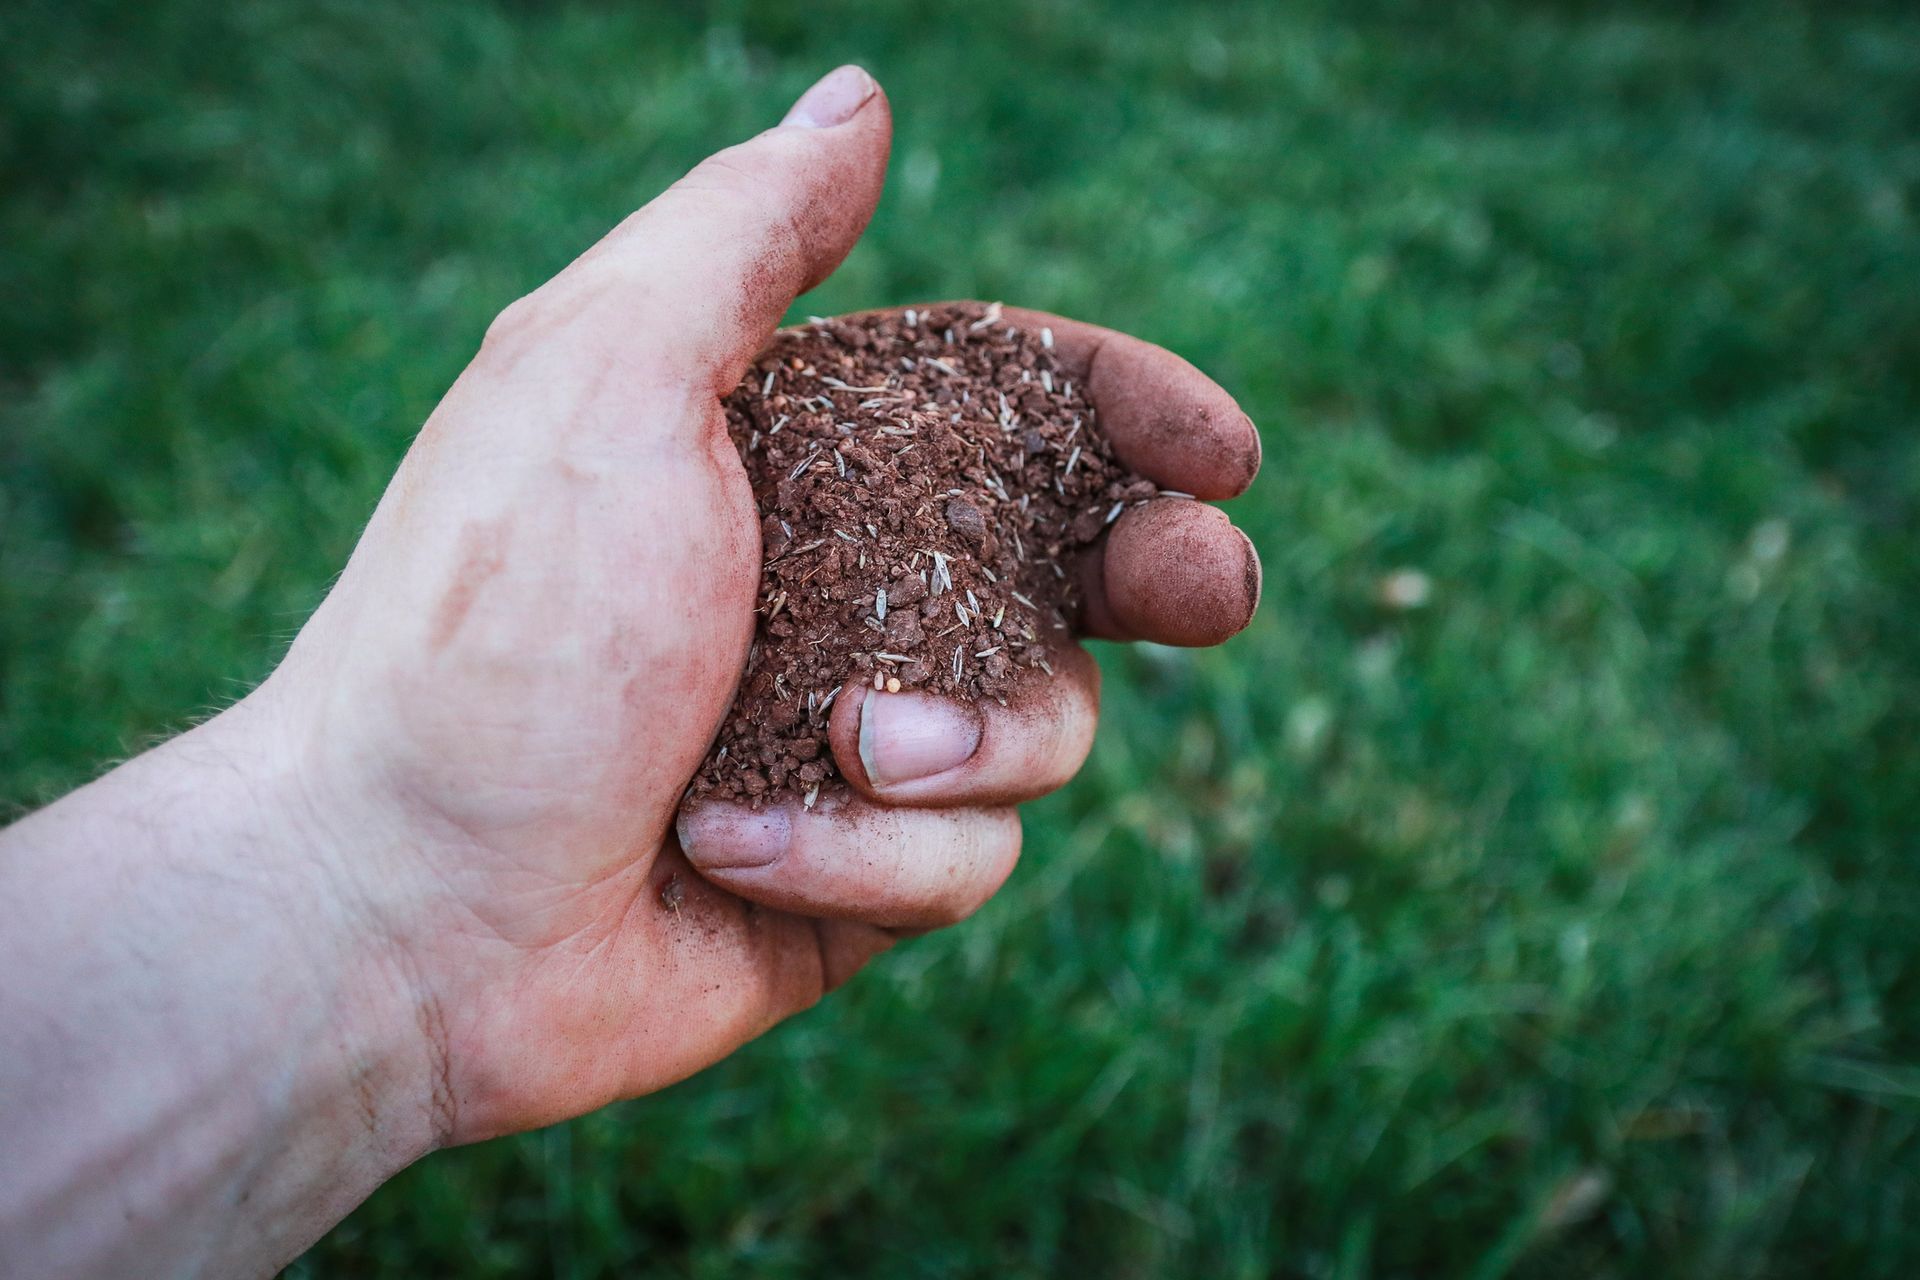
- Prepare the Soil: Begin by preparing the soil surface to ensure proper sod adhesion and root establishment. Remove any debris, rocks, or existing vegetation, and till the soil to a depth of 4-6 inches to promote root penetration.
- Grade the Surface: Level the soil surface using a rake or leveling tool, ensuring uniformity and proper drainage. Fill in low spots and eliminate high spots to create a smooth, even surface for sod installation.
- Measure and Order Sod: Measure the area to be sodded accurately, taking into account any irregularities or curved edges. Order the appropriate amount of sod based on your measurements, ensuring adequate coverage without excess waste.
- Install Sod: Begin laying sod along a straight edge, such as a sidewalk or driveway, to ensure a neat, uniform appearance. Stagger the sod joints like brickwork to minimize gaps and promote seamless integration.
- Trim and Shape: Use a sharp utility knife or sod cutter to trim the edges and shape the sod to fit irregular areas or curves. Pay attention to detail, ensuring a precise fit and professional finish.
- Water Thoroughly: After sod installation, water the entire area thoroughly to promote root establishment and minimize stress. Keep the sod consistently moist, watering deeply to encourage deep root growth.
- Maintain Regularly: Monitor the newly sodded lawn closely and adjust watering frequency as needed to keep the sod moist but not waterlogged. Avoid heavy foot traffic or mowing until the sod has fully established, typically within 2-3 weeks.
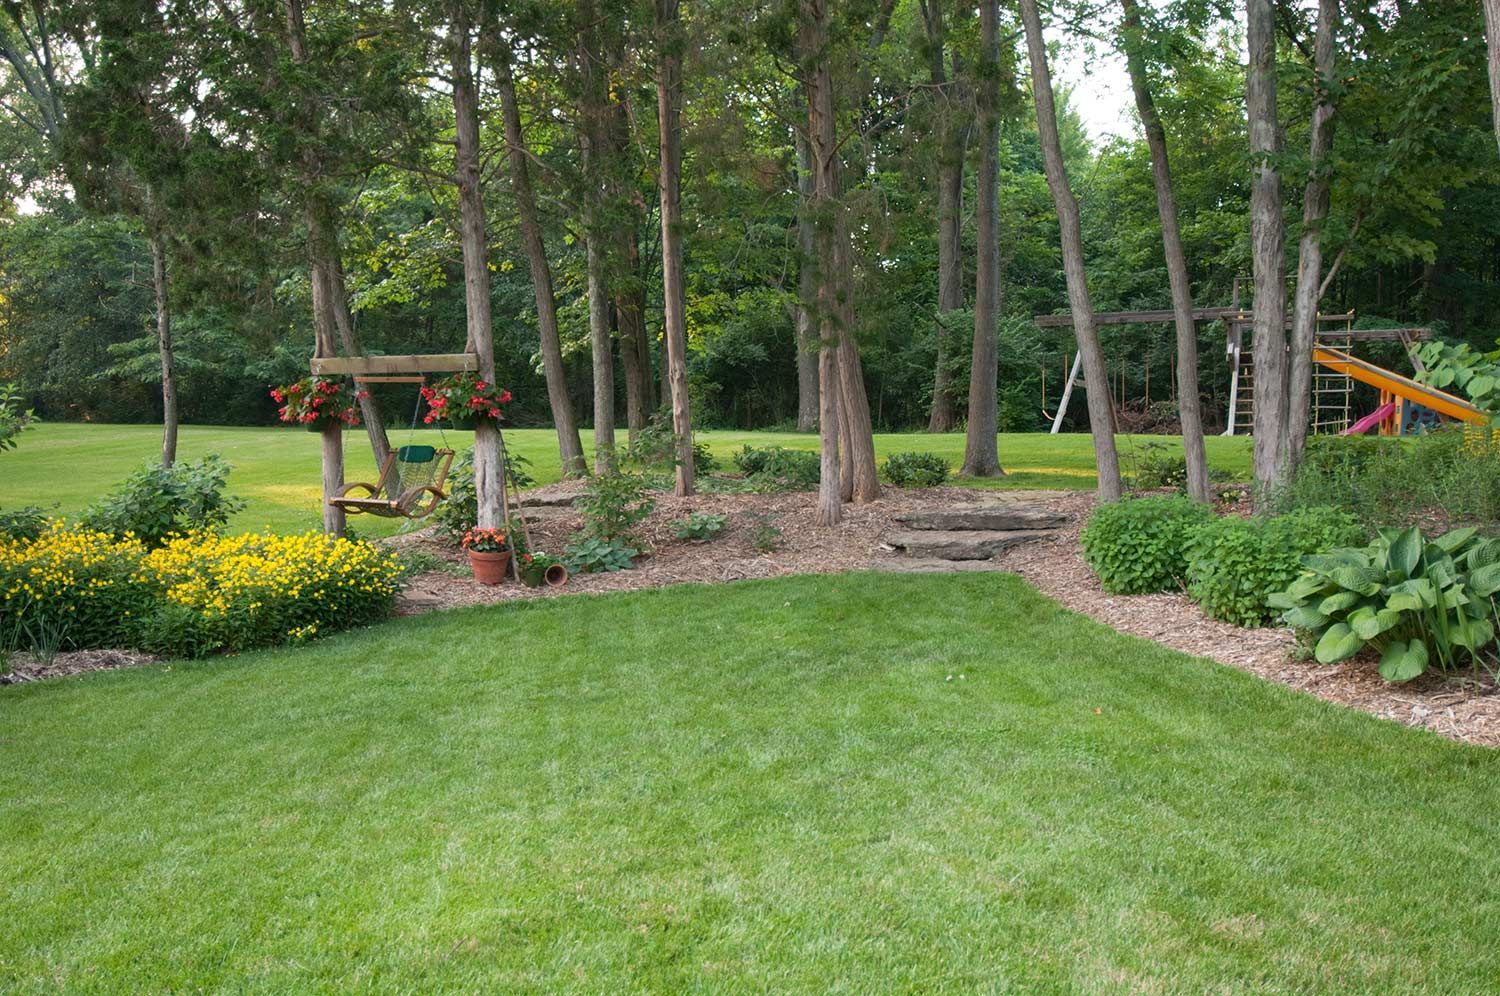
Conclusion: Sod installation offers a convenient and efficient way to achieve a lush, green lawn with minimal time and effort. By following the step-by-step guide outlined in this post and investing in quality sod, you can enjoy the immediate gratification of a beautiful lawn that enhances your outdoor living experience. With proper care and maintenance, your sodded lawn will thrive for years to come, providing enjoyment and beauty for your home or property.